 |
 |
 |
|


-
30 Part 3 - Using Quantrac 2005
The last step in the process is to click the ‘Move Selected Item to Current Zone’ button. The system will prepare to
remove the selected unit from your inventory to the customer’s zone into equipment installed by our company. The
system will confirm your selection of type, model number, and serial number. If correct, click ‘OK’. The system will
ask if you have any more equipment to add to this zone. If yes, follow the preceding steps for each item that you wish
to add. If no, the Add Equipment form will appear for you to enter start dates, warranty types, notes, etc.
You can also remove any piece of equipment that came from your inventory, placing it back into inventory by following
these steps:
1.
Go to the Customer, Jobsite, and Equipment form.
2.
Click the zone that contains the equipment to be restored to inventory.
3.
Double-click on the actual item to be restored to inventory. The equipment detail form will appear.
4.
If the equipment selected came from inventory, the ‘Inventory’ button will be normal, not grayed-out.
5.
Click the ‘Move item from Zone to Inventory’. The system will confirm your action, then verify the
completion.
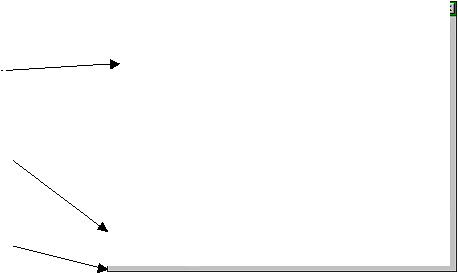
Select the Manufacturer from
the drop down list. (The list
contents are derived from your
initial setup)
Select the Equipment Type from
the drop down list. The list
contents are derived from your
Serialized Inventory setup.
Select the actual equipment by
clicking the selector box to the
right of the description. Take
care during this step. It is easy
to mistakenly select the right
model number but wrong serial
numbered equipment.